Showing posts with label ISO. Show all posts

Monday, October 3, 2011

Wildlife Photography


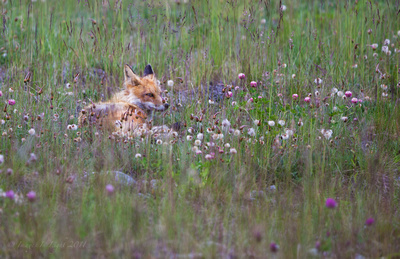
Jasper NP, Red Fox: 300mm at f2.8, 1/250 sec, ISO 100.
Larger Image

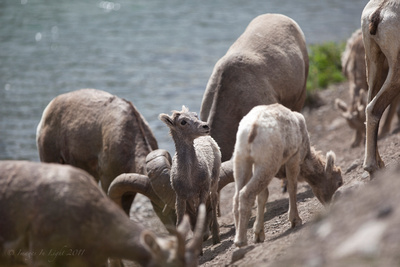
Jasper NP, Big Horn herd, isolated young: 300mm at f2.8, 1/1600 sec, ISO 100.
Larger Image

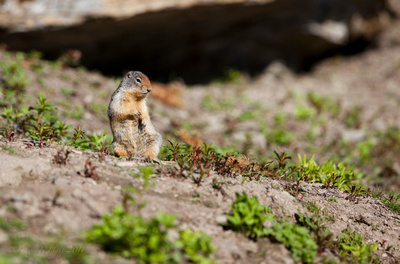
Glacier NP, Ground Squirrel: 300mm at f3.5, 1/1000 sec, ISO 100.
Larger Image

MT Rainier NP, Red Fox: 300mm at f2.8, 1/2000 sec, ISO 100
Larger Image


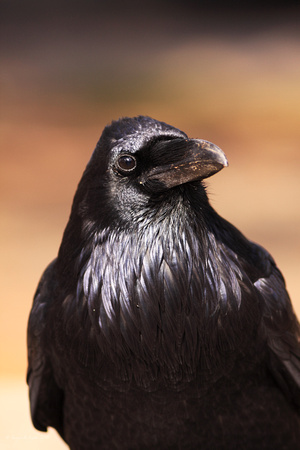
Yellowstone NP, Raven: 300mm at f4, ISO 100.
Larger Image

Wildlife photography for me has always been secondary to my landscape work, but I have now come to embrace it, mostly due to the experience I have gained over the course of, well, many years. Showing my age a little : )

The main thing I have learned, is to shoot as wide open as you can, why ? several reasons; Shooting at a wide aperture allows you to shoot at faster shutter speeds and lower ISO's, wild animals are often seen at dusk or dawn and with lower light, ISO values start to rise, in order to maintain a fast enough shutter speed you may need to shoot at ISO 800 to get to 1/250 of a sec.
at f2.8.

See this ISO 3200 image or this ISO 1600 image and here at ISO 100.

Whether or not its low light or the animal on the move, a wide aperture will help with the shutter speed or low ISO.

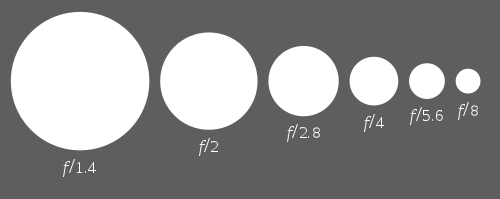
The main reason though is subject isolation, a wide aperture like f3.5 (just short of wide) on a 300mm f2.8 lens is great for blurring the background and some times the fore ground, which makes the subject stand out , if you look closely at the first fox, I had to pick him out amongst the grass and clover and to make him stand out, I needed the foreground and background out of focus. Another benefit on long primes, your lens is at its sharpest in the wider range of apertures.

Where to focus ? always on the eye, very important to have at least one eye in focus.

Also great for portrait photography.

To sum it up, you should end up with sharp, low ISO images, with good subject isolation when shooting at or near wide open.


Aperture diagram courtesy of Wiki
Ross

Images In Light

Monday, May 11, 2009

Shooting Waterfalls

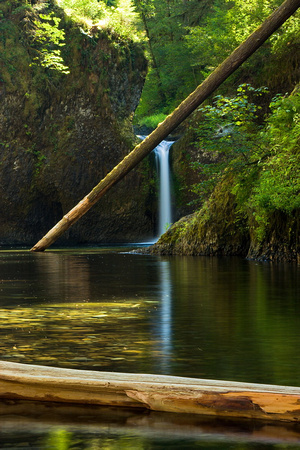
Image: Punchbowl Falls, 40D, 24-105 f4 L IS, f22, 2.5 sec, 65 mm.
Larger Image

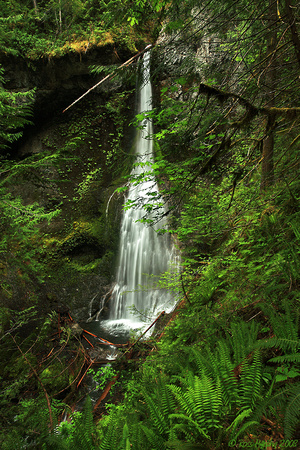
Image: Marymere Falls 40D, 17-40 f4 L, f11 1/5 sec, 25 mm.
Larger Image

One of my favorite things to shoot, especially in the Columbia river Gorge, on the Oregon side.
Shooting waterfalls can be quit difficult, the contrast between the water and the surrounding landscape can be extreme to say the least and if sun light is landing on the water it becomes most times impossible to get a good shot. I prefer to shoot falls that are shaded when the contrast is closer between the falls and the surrounding area, this makes those over cast wet days great for getting out and exploring nearby waterfalls. Depending on conditions I may use a CPL or even a GND filter, I like to shoot them under one second to avoid to much of the misty water look, however some times when shooting in the canopy of the forest you may have to up the ISO to get the speed you want. Be creative and experiment, some time's a longer exposure works. A CPL or GND can help you get the longer exposure and by metering on the water (use exposure lock) and then recompose and focus on a foreground subject to add interest, you can get a nice even exposure, by metering on the brighter water the longer exposure will bring enough light to the surrounding area, remember if your foreground is not in focus the shot is ruined.

Ross Murphy Images In Light