Showing posts with label presets. Show all posts

Saturday, August 13, 2016

Review - RNI Film Presets

 RNI film presets for Adobe Lightroom and Adobe ACR - I am fond of using presets for Lightroom, I usually look at them as a good place to start. RNI has gone to a lot of trouble to create a massive database of presets that simulate various film styles, the Pro version, comes with an immense amount of presets. Fuji, Agfa, Ilford, Kodak, Polaroid, Rollei, from my old favorites in the film days.

 RNI - Agford Scalia-200, plus, Vignette +5 and Slide Frame Black  

Wednesday, August 28, 2013

Creating Lightroom Presets

Creating presets in Lightroom is very easy, I have seen people selling them and I hate to see people paying for something that is so simple.

While in the develop module, start by creating a folder, select somewhere inside the presets menu on the upper left  as shown and select new folder.

click image to see bigger

Name that new folder and hit enter, you now have a location to put your presets, think about what you want to call it, you can click on it and delete it if you need to and start over.

click image to see bigger

Now go in and make adjustments to an image that you would like your presets to match up to, things like tone curve, colors, sharpening, etc., once your satisfied select the "+" symbol to the right of "Presets" in the upper right as shown and give your preset a name, from the pull down menu select the folder you created earlier, every thing you did to that image is now saved in that preset in that folder for you to apply to future images.

One for color: click image to see bigger


One for Black and White: click image to see bigger

As simple as that, this is especially useful for Fuji X users that want to get that out of camera look. Make as many as you need, they are easy to create and delete.

Ross

Monday, July 29, 2013

Lightroom - Black and White


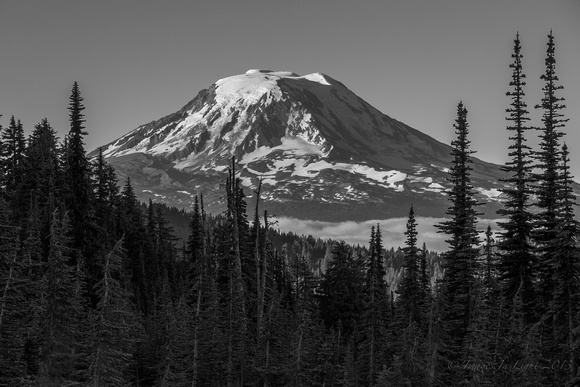
 Image: 5D Mk III, 70-200f/4L IS, 150mm at f/11, 1/125th sec, tripod.
Larger Image 

 select for larger image

Making black and white images with Lightroom is very easy and pretty effective, the hard part is choosing the right image to use.

Fortunately, Lightroom has made it so easy to make B and W images, its just a button press away, after normal processing; curves, shadows and highlights, etc.. go to the adjustments tab and just select B & W, then all that's left to do is slide the color bars, for example, to darken or lighten a blue sky just slide the blue slider to get the right effect, remember, contrast is your friend in a B and W image.

White balance can also be used to brighten are darken the image and split tone will add warmth or coolness to your image, the great thing about Lightroom is this wont effect the original image. I will usually make a virtual copy of the color image to create my B and W image from so I have it to compare.

Things to look out for; ghosting around high contrast areas and banding in solid colors when you go to extremes with the sliders, ghosting can usually be fixed with PS, but banding requires backing off on the slider.

There are also a lot of black and white presets out there on the web, do a search and you will find loads of free presets you can download, including these from Adobe, no need to pay for presets there are lots of free ones on the web and tutorials on how to make and install your own, see this link.

Ross

Images In Light