

select for larger image
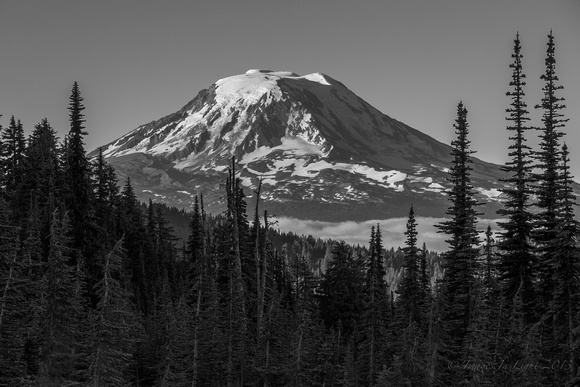
Making black and white images with Lightroom is very easy and pretty effective, the hard part is choosing the right image to use.
Fortunately, Lightroom has made it so easy to make B and W images, its just a button press away, after normal processing; curves, shadows and highlights, etc.. go to the adjustments tab and just select B & W, then all that's left to do is slide the color bars, for example, to darken or lighten a blue sky just slide the blue slider to get the right effect, remember, contrast is your friend in a B and W image.
White balance can also be used to brighten are darken the image and split tone will add warmth or coolness to your image, the great thing about Lightroom is this wont effect the original image. I will usually make a virtual copy of the color image to create my B and W image from so I have it to compare.
Things to look out for; ghosting around high contrast areas and banding in solid colors when you go to extremes with the sliders, ghosting can usually be fixed with PS, but banding requires backing off on the slider.
There are also a lot of black and white presets out there on the web, do a search and you will find loads of free presets you can download, including these from Adobe, no need to pay for presets there are lots of free ones on the web and tutorials on how to make and install your own, see this link.
Ross
Images In Light
No comments:
Post a Comment
Feel free to leave your thoughts.