
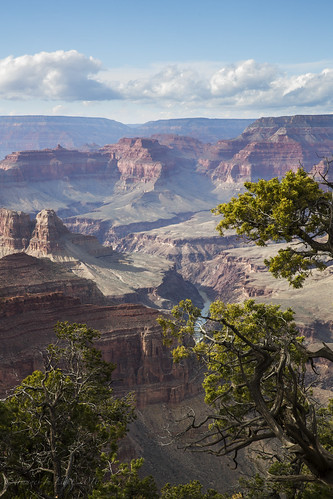
Final modified image: 5D Mk III, EF 24-70 f/2.8 L II, f/11, 1/80sec, 70mm
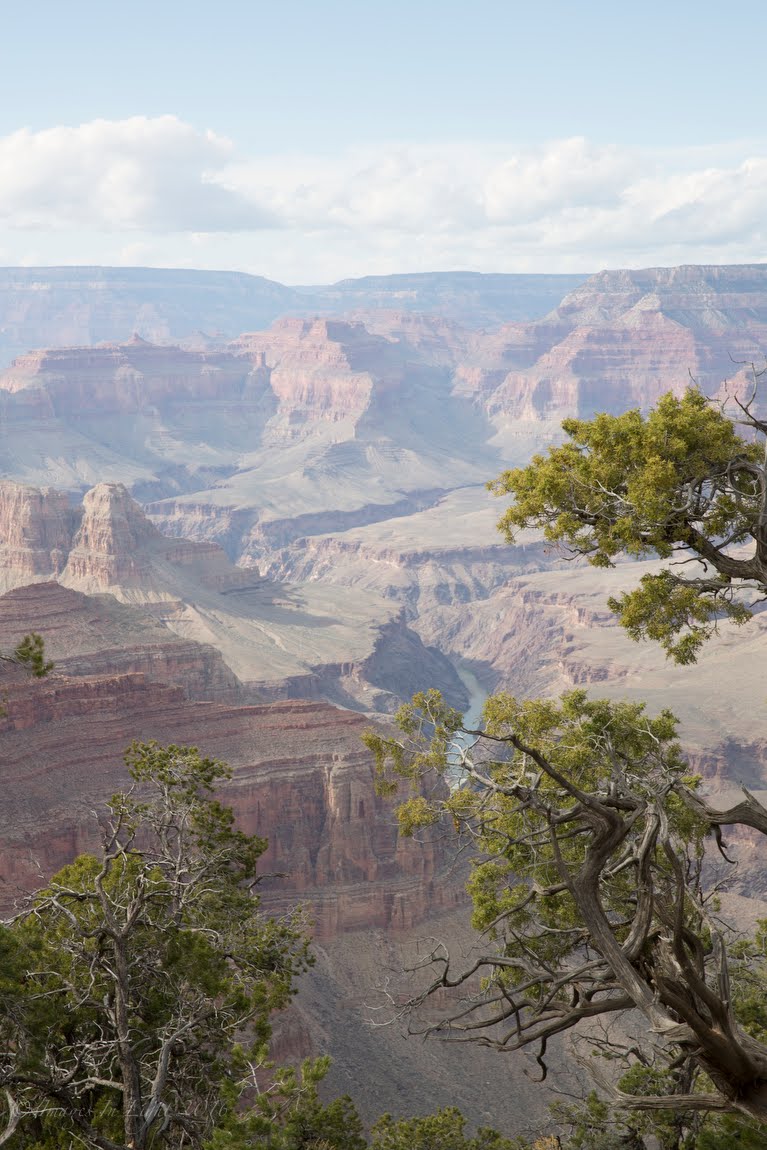
Original RAW Image

Check the box to see the mask (red areas) in Lightroom
Part 1. The Graduated filter tool. Here I added a small amount
of blue, reduced highlights and reduced exposure by -.29, added
clarity of 5. Getting me the contrast I wanted in the sky. Note I
pulled the graduated slider to the top of the canyon.


Part 2. The Brush tool. I wanted to add contrast and sharpen up
the mid and foreground, so I reduced exposure by -.10 added
sharpness of 19, clarity of 5 and a very tiny amount of red from the
color selector. Note the brush size settings below.
color selector. Note the brush size settings below.


After brush tool
Its a pretty easy process once you learn all the little tricks. Lightroom has become a powerful tool for processing your images over the years. It is much easier to do these steps in RAW than tiff or jpg and you have much more latitude for recovery.
Ross
Images In Light
No comments:
Post a Comment
Feel free to leave your thoughts.